Gecko Out Level 1003 Solution Walkthrough | Gecko Out 1003 Answer
How to solve Gecko Out level 1003? Get step by step solution & cheat for Gecko Out level 1003. Solve Gecko Out 1003 easily with the answers & video walkthrough.


Gecko Out Level 1003: Board Layout, Rules, and Win Condition
Understanding the Starting Board
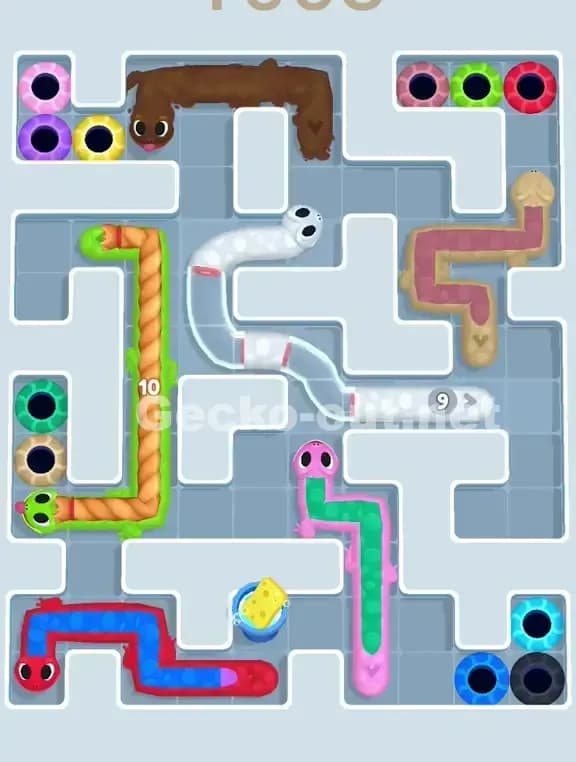
Gecko Out Level 1003 is a dense, multi-colored puzzle that demands careful spatial reasoning. You're looking at six geckos spread across the board: a purple-and-yellow pair in the upper left, a brown gecko blocking the top center, a three-head cluster (pink, green, red) in the upper right, a long green-and-yellow striped gang gecko snaking down the left-center area, a pink-and-green pair in the middle, a red gang gecko forming a complex path in the lower left, and a trio of blue and cyan geckos anchoring the bottom right. Each gecko has a matching colored hole somewhere on the board, and your job is to drag each head through the maze without letting bodies overlap walls, other geckos, or blocked exits. The board itself is a tight lattice of white corridors separated by gray walls, with very few wide-open spaces—this isn't a level where you can improvise.
The Win Condition and Timer Pressure
You need all geckos in their matching holes before the timer runs out. Unlike easier levels, Gecko Out Level 1003 gives you a moderate time window, but it's tight enough that fumbling with one gecko's path can cascade into a loss. The trick is that each gecko's body follows the exact route you drag its head, so if you create a coiled path, that body will coil too, potentially blocking lanes for other geckos. The moment you release the head, the body snaps into place and stays there until that gecko escapes. This means poor path planning early on can lock you into a dead end by mid-game.
Pathing Bottlenecks and Logical Traps in Gecko Out Level 1003
The Central Corridor Crisis
The biggest bottleneck in Gecko Out Level 1003 is the central vertical corridor that connects the upper-middle section to the lower-middle section. At least three geckos need to thread through this narrow passage to reach their holes, but if you're not strategic, the first gecko you send down will coil its body across the corridor, blocking the others. The brown gecko at the top is particularly dangerous here—its long body can easily jam this critical lane if you don't route it to its exit first or route it around the perimeter instead.
Subtle Problem Spots
The upper right corner is deceptively cramped. Those three geckos (pink, green, red) are sitting right next to their holes, but they're packed so tightly that if you drag one head incorrectly, its body curves across another gecko's path, and now you've created an unintended knot. Similarly, the red gang gecko in the lower left forms a complex U-shape that spans multiple rows—if you drag its head prematurely, you'll waste movement space and trap yourself in that corner. Finally, the transition zone between the left-side striped gecko and the center of the board is a choke point where two long bodies want to occupy the same space, and you absolutely cannot let them both be on the board at the same time if they're competing for lanes.
The Moment It Clicks
Honestly, my first attempt at Gecko Out Level 1003 felt overwhelming. I saw all those colors and gang geckos and thought, "There's no way this works." But after I reset and deliberately sent the brown gecko out first—just committing to one clear path—the board opened up mentally. That's when I realized the level isn't asking you to solve everything at once; it's asking you to remove one obstacle at a time, in the right order, so the board breathes.
Turn-by-Turn Path Strategy to Beat Gecko Out Level 1003
Opening: Clearing the Top Half
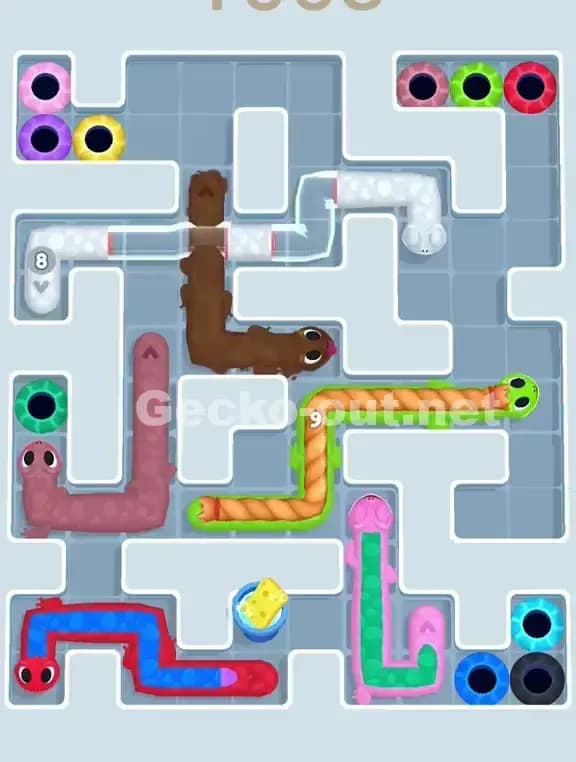
Start by sending the brown gecko out immediately. It's perched at the top center, and its hole is positioned on the right side of the upper area. Drag its head to the right along the top corridor, down the right-side lane, and into its hole. This sounds simple, but it clears a major jam at the top and proves to you that the board has space. Next, tackle the upper-left purple-and-yellow pair. The yellow gecko should exit first by sliding down the left edge and curling into the lower-left area—don't send it through the center. Park the purple gecko in a safe corner (left side, nestled against the wall) while you work on others; you'll come back for it last because it's already out of everyone's way.
Mid-Game: Protecting Critical Lanes
Once the brown gecko is gone, you have more breathing room. Now it's time to handle the three-gecko cluster in the upper right (pink, green, red). These are close to their exits, so route each one carefully. The green gecko should go first—drag it down the right corridor into its hole on the right edge. Pink goes next, following a similar right-side path but curving slightly inward. Red is last from that cluster, and by then the upper right is clear. Now focus on the long striped gang gecko on the left side. This is where you need patience. Drag its head downward along the left edge, ensuring its coiled body doesn't block the central corridor. If you've managed the moves so far, the left lane should be relatively open, and you can slide this gecko down and out without collision.
End-Game: Executing the Final Exits
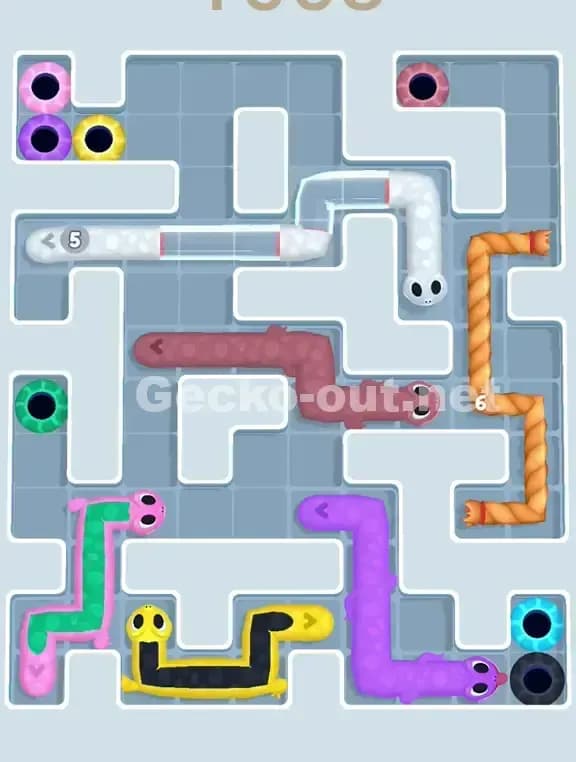
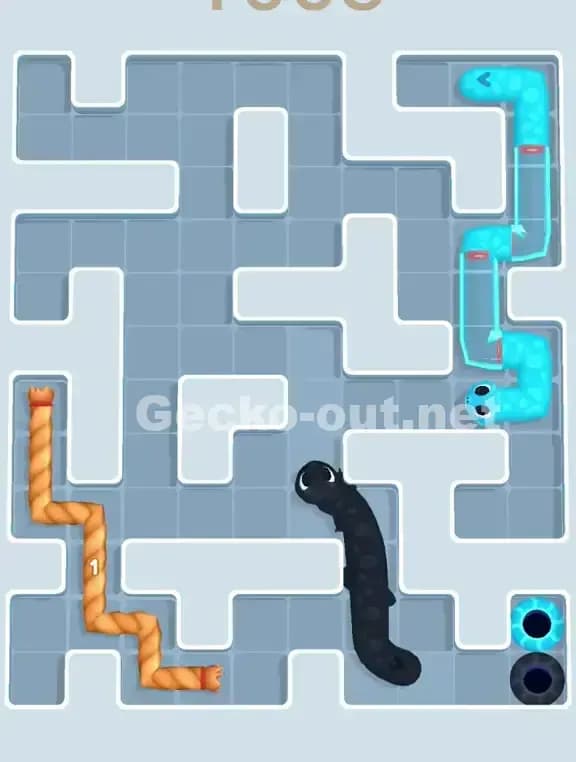
You're now down to the middle and lower sections. The pink-and-green pair in the center needs careful routing—they're not gang-linked, so move them independently. Get the green one out first through whichever nearby hole is accessible, then pink follows. The red gang gecko in the lower left is trickier because of its U-shape, but with the upper-left mostly clear, you can drag its head through the maze down and around into its hole. Finally, tackle the blue and cyan trio in the bottom right. These are often the last to go because they're already positioned near exits; just be methodical and drag them one at a time. By the end-game phase, you should have 5+ geckos already escaped, so you're playing with room to breathe. If you're low on time (less than 10 seconds), don't panic—just commit to straight-line paths for the final geckos; fancy routing will only waste motion.
Why This Path Order Works in Gecko Out Level 1003
Untangling the Knot, Not Tightening It
The strategy works because you're removing anchors in a logical sequence. By sending the brown gecko out first, you eliminate a major body that could coil across the central corridor. Then, by clearing the upper-right cluster and the left-side striped gecko before tackling the center, you ensure that no two long bodies are competing for the same narrow lane simultaneously. The head-drag mechanic means every path you create is permanent until that gecko escapes, so you're essentially building a solution from the outside in, shrinking the problem with each exit rather than compounding it.
Reading the Board vs. Speed Running
Gecko Out Level 1003 is one of those levels where you should pause for 5–10 seconds at the start and visually trace each gecko's shortest path to its hole. Don't move until you've identified at least the first three exits. Once you've mapped those, commit and move fast—hesitation mid-execution leads to rushed mistakes. The timer is generous enough that reading the board doesn't hurt you; in fact, it saves time by preventing restarts.
Booster Recommendations
You don't need boosters to beat Gecko Out Level 1003, but if you've already used two attempts and the timer is stressing you out, a single "extra time" booster is a legitimate safety net. Don't bother with hammers or hints—the level is entirely solvable with logic and patience. Save your premium boosters for the truly brutal levels ahead.
Mistakes, Fixes, and Logic You Can Reuse in Other Gecko Out Levels
Common Mistakes and Fixes
Mistake 1: Sending the brown gecko through the center. It's tempting because the center feels open, but the brown gecko's body curls up and blocks the corridor for other geckos. Fix: always route long single geckos along the perimeter first. Mistake 2: Moving the red gang gecko too early. Its U-shape occupies tons of space, and if it's on the board while you're routing the striped gecko, you're begging for a collision. Fix: wait until the left-side striped gecko is gone before touching the red one. Mistake 3: Trying to route geckos simultaneously. You might think you can thread two geckos through overlapping corridors by being clever, but Gecko Out Level 1003 doesn't reward creativity—it rewards sequential clarity. Fix: move one gecko all the way to its hole, no exceptions, then move the next. Mistake 4: Over-complicating the upper-right cluster. Those three geckos are sitting right next to their holes; you don't need a fancy path. Fix: drag them in a straight or near-straight line, one after another, with no backtracking. Mistake 5: Forgetting to "park" low-priority geckos. The purple gecko in the upper left is safe but easy to forget. Fix: mentally label geckos as "exit now," "exit mid-game," and "exit late," and stick to that plan.
Reusing This Logic on Similar Levels
Gecko Out Level 1003 teaches you a universal lesson: in gang-gecko and bottleneck-heavy levels, prioritize removing long bodies from tight corridors early. If a level has a central choke point and multiple geckos that need to pass through it, identify which geckos can bypass the choke point (via the perimeter) and route those first. This strategy scales to Gecko Out levels with frozen exits, multiple gangs, and toll gates—the principle remains: untangle from the outside in, and remove anchors before moving critical pieces.
Final Encouragement
Gecko Out Level 1003 looks intimidating at first, but it's genuinely beatable with a calm head and a clear plan. The board is dense, yes, but it's not random—every wall and every gecko position is there to teach you how to think spatially and sequentially. Once you land that first gecko in its hole, the rest flows naturally. You've got this.


